


How Much Does It Cost to Renovate in NSW?
Renovating in NSW? Learn how much it really costs - with price ranges, design tips, and a free planner to help you stay on budget.
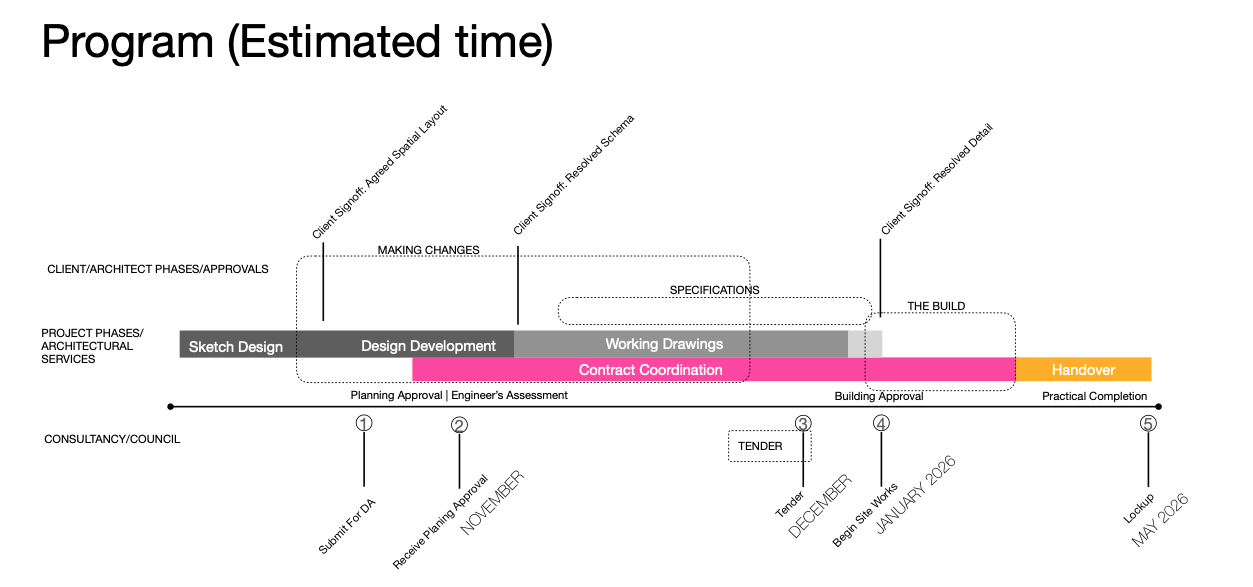
What Comes First: The Architect, the Builder, or the Council?
Not sure whether to call the builder, council, or designer first? This guide breaks down the first five steps to starting your renovation or new build in NSW - from budget to approvals, with a clear project timeline to help you plan ahead.

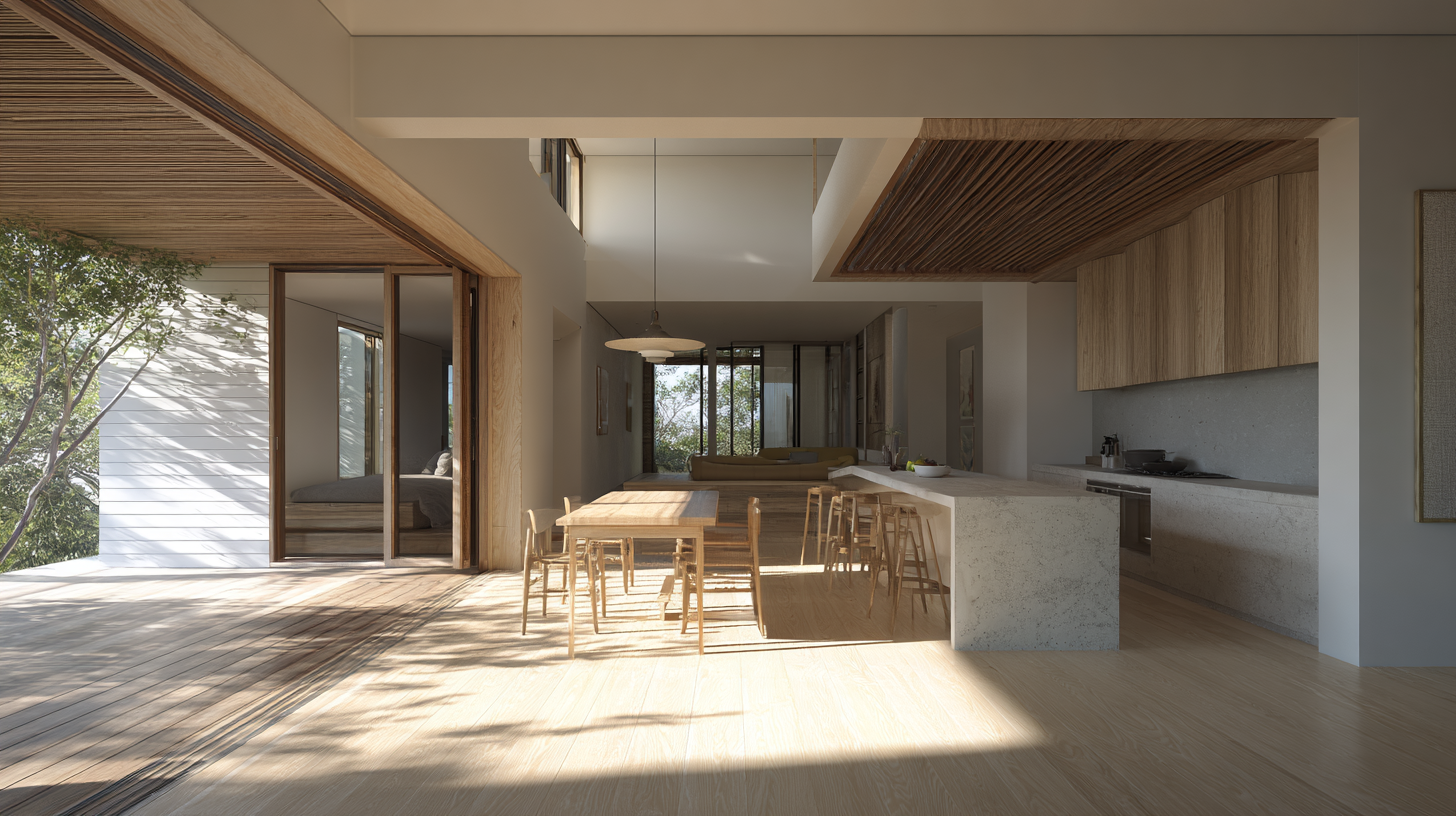
How to Design a Family Home That Grows With You – Without Blowing the Budget
Designing a family home doesn’t have to mean endless extensions and budget blowouts. In this blog, discover five smart design strategies to help your home grow with you — from multi-use rooms and natural light to staging your build and maximising what you already have.
5 Things to Consider Before Renovating in Newcastle – A Local’s Guide
Planning a renovation in Newcastle? Before you pick up a hammer or scroll Pinterest boards, read this first. From site constraints and council approvals to smart budgeting and coastal design tips, this local guide will help you avoid common mistakes and make the most of your home’s potential — without blowing the budget.
What Does a Building Designer Do – and Do I Need One for My Renovation?
Thinking about renovating but not sure who to call first? This blog breaks down exactly what a building designer does, how they differ from architects and draftspersons, and why they’re often the smartest choice for families planning renovations or new builds on a realistic budget — especially in Newcastle. Discover how a building designer can help you turn ideas into beautiful, functional spaces without blowing your budget.

DA vs CDC: Which Approval Path is Right for Your Renovation?
DA vs CDC: Which Approval Path is Right for Your Renovation?
Before building or renovating in NSW, you’ll need council or certifier approval—but which option is best? This post breaks down the key differences between Development Applications (DA) and Complying Development Certificates (CDC), helping you avoid delays and choose the smartest path forward. Learn how ROKA Design Studio simplifies the process with early site checks and tailored advice.

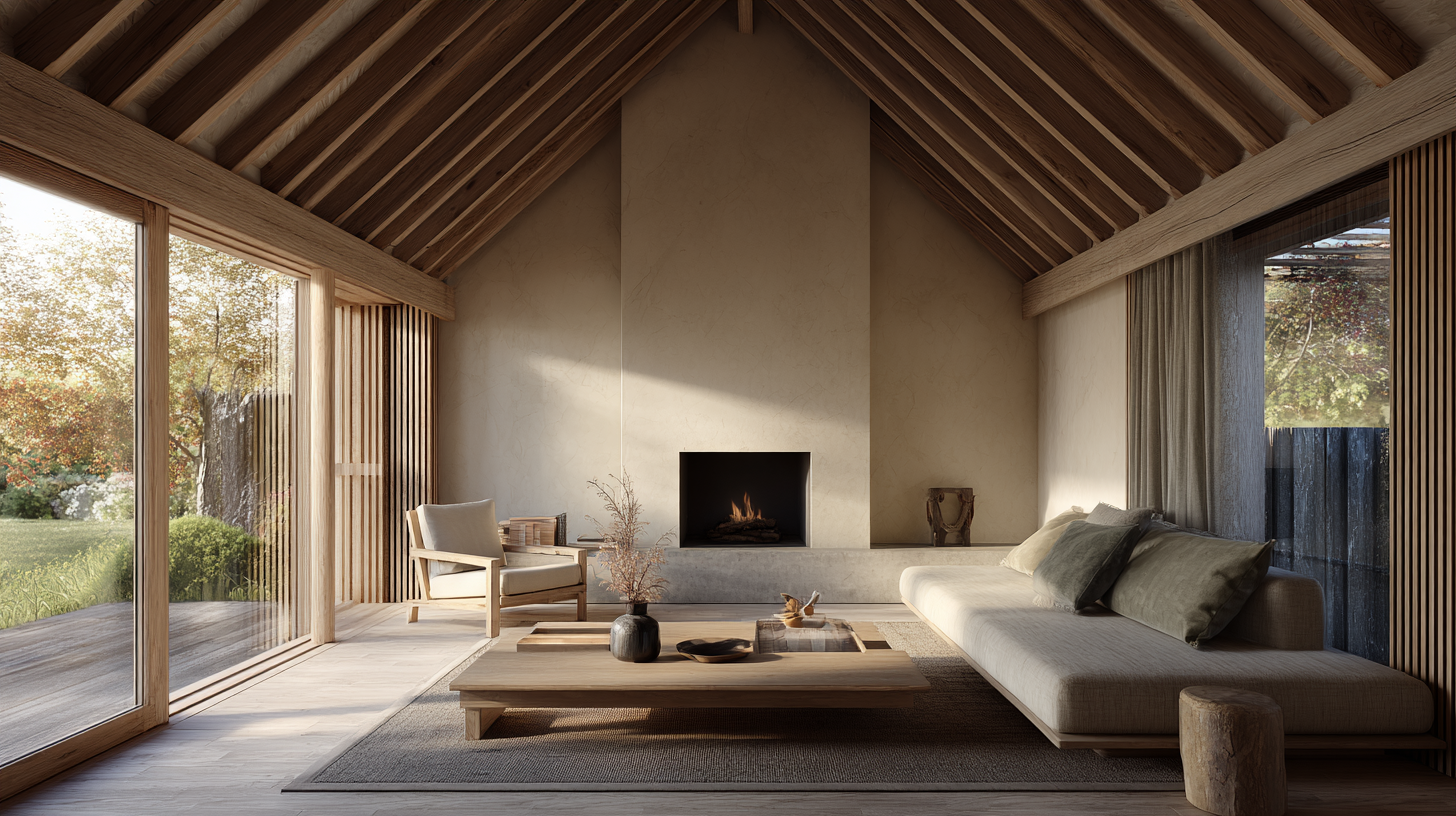
Staged Renovations Done Right: The Art of Designing Once and Building in Parts
Modern living room as part of a staged renovation project

What to Expect from a Concept Design Package – Step by Step
Discover what’s included in a concept design package - from site analysis to concept plans and 3D visuals. Your renovation or new build starts here.